Blog Articles
How to upload files to Azure containers?
Table of Contents
Introduction
Microsoft Azure offers a powerful cloud storage solution that allows you to store and manage your data in the cloud. One of the key features of Azure Storage is Azure Blob Storage, which is designed for storing massive amounts of unstructured data, such as documents, images, videos, and more. In this guide, we will walk you through the process of uploading files to Azure Containers, a fundamental concept in Azure Blob Storage.
In this blog, we will guide you through each step, starting with the creation of an Azure container and concluding with the process of uploading files to it.
Prerequisites
Before you get started with uploading files to Azure Containers, you’ll need a few things:
Azure Account: You need an active Azure account. If you don’t have one, you can sign up for a free trial.
Azure Storage Account: Create an Azure Storage account if you don’t already have one. This account will serve as the root for your storage resources.
Azure Storage Explorer (Optional): Although not required, Azure Storage Explorer is a handy tool for managing your Azure Storage resources. You can download it from the Azure portal.
Step 1: Create an Azure Container
An Azure Container is a logical grouping of objects in Azure Blob Storage. You can think of it as a folder where you will store your files. To create a container:
- Log in to the Azure portal.
- Navigate to your Azure Storage account.
- In the left-hand menu, under the “Data storage” section, select “Containers.”
- Click the “+ Container” button.
- Provide a unique name for your container, choose the access level (either private, public, or container), and click “Create.”
Step 2: Uploading Files to Azure Containers
There are several ways to upload files to Azure Containers. Here, we’ll cover two common methods: using Azure Storage Explorer and using Azure Blob Storage’s REST API.
Method 1: Using Azure Storage Explorer
- Open Azure Storage Explorer.
- Connect to your Azure account by clicking on the “Connect to Azure” button and signing in.
- In the left panel, expand your Storage Account, then Containers.
- Right-click on the container you created earlier and select “Upload.”
- Browse to the files you want to upload, select them, and click “Open” to start the upload process.
- Wait for the files to upload. You can monitor the progress in the bottom panel.
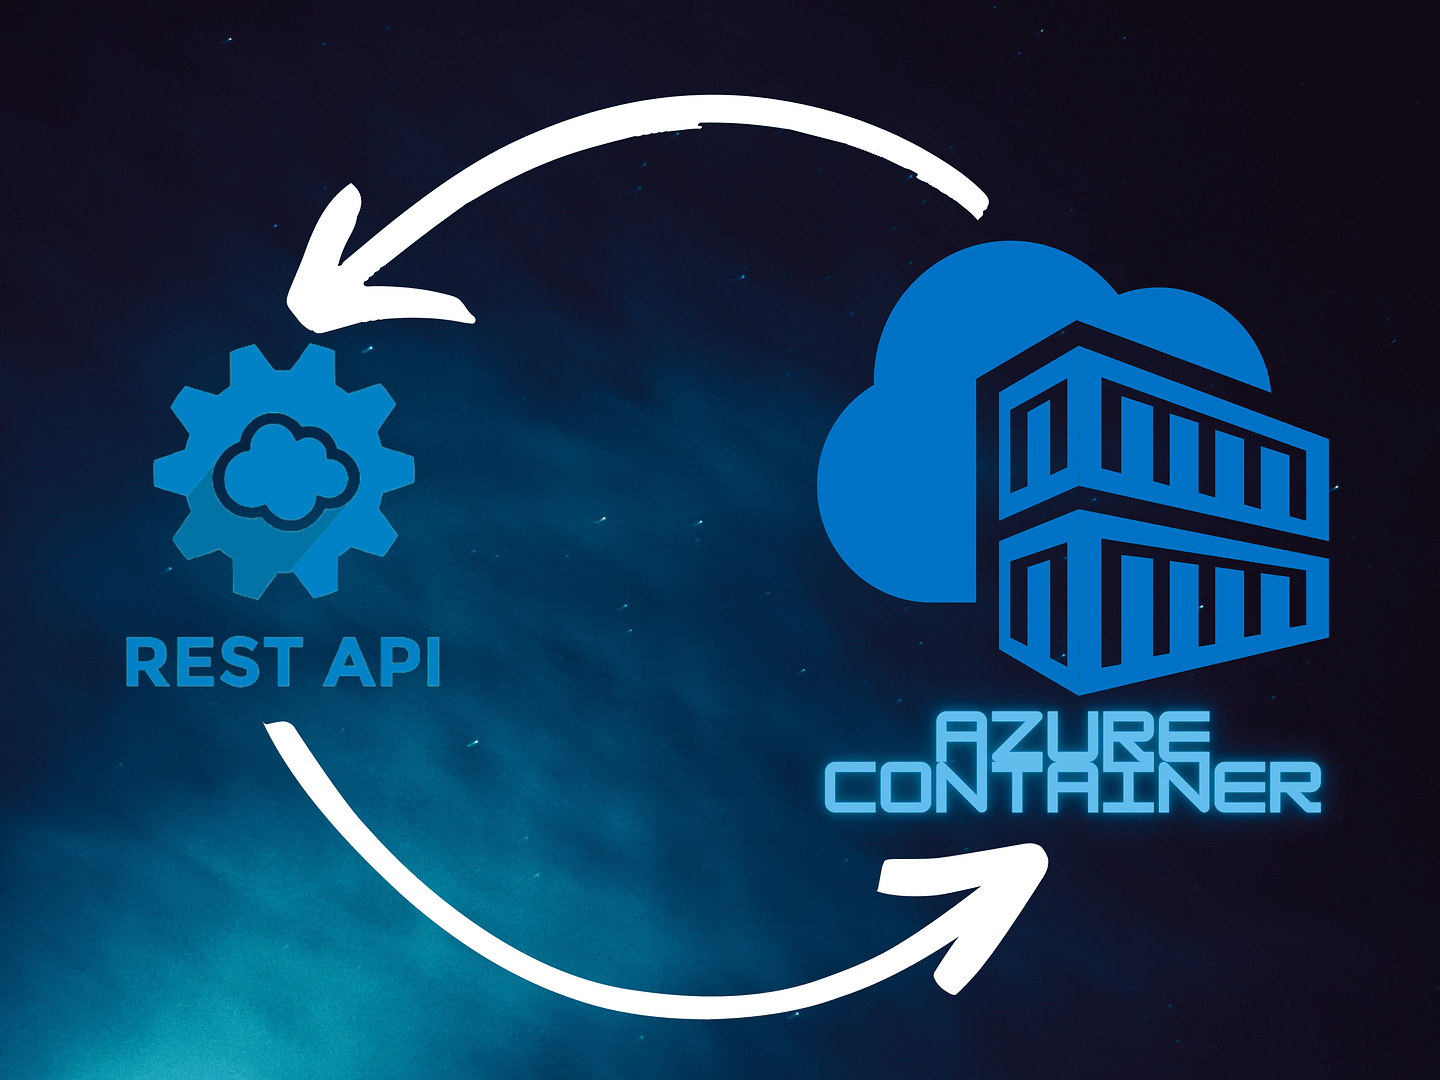
Method 2: Using Azure Blob Storage’s REST API
If you prefer a programmatic approach, you can use Azure Blob Storage’s REST API.
- To make Rest API calls, We would need a valid Access Token.
- To generate an access token, navigate to the “Shared Access Signature” option in the left sidebar navigation of your storage account. Choose the desired start and expiry date time, check “Container” for Allowed resource types and then click the “Generate SAS Token and connection string” button.
- Copy the entire URL of “Blob service SAS URL”.

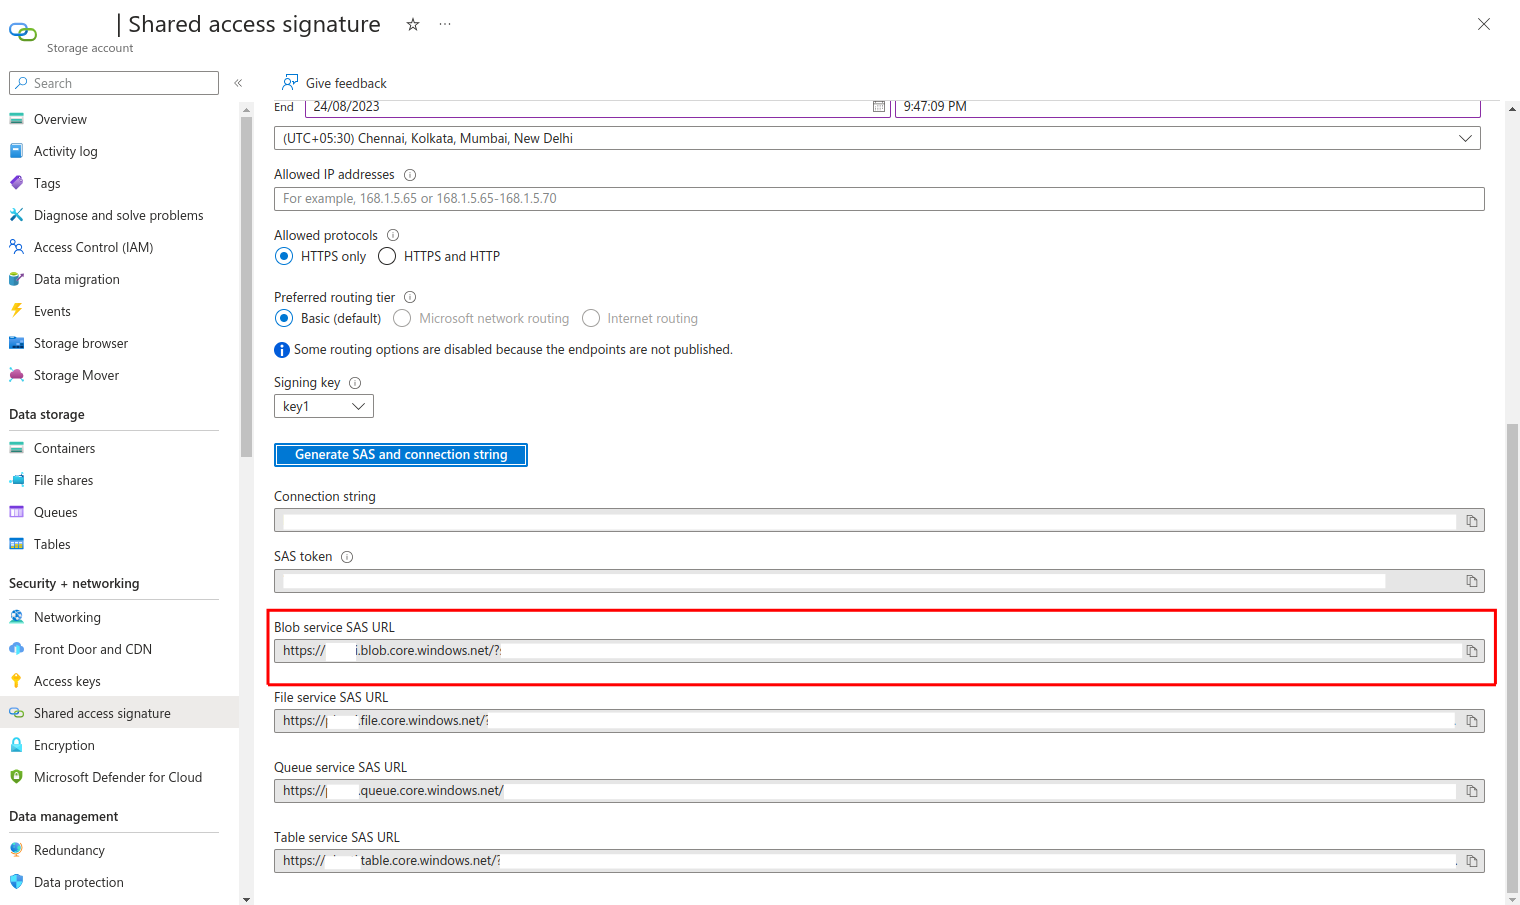
- The copied URL should resemble this format: https://{storage_Account_name}.blob.core.windows.net/{container_name}. To include the file name for your specific file, simply append it after the container name, resulting in a URL like this: https://{storage_Account_name}.blob.core.windows.net/{container_name}/{file.jpeg}.
- Now, Add the following header to your API request:
X-ms-blob-type: BlockBlob

- Upload the file in binary format.
- Send the API request as PUT method, expect a 201 Created status in the API response.

Delete files from container using Rest API
For deleting a file from Azure containers, you will utilize the same “Blob service SAS URL” previously generated. Follow the straightforward steps outlined below:
- Within the URL, you’ll need to append the file name you wish to delete, just as you did when uploading the file.
- Now, submit an API request with the DELETE method, and upon successful execution, receive a 202 Accepted response.

Conclusion:
Uploading files to Azure Containers is a fundamental step in managing your data in Azure Blob Storage, particularly for healthcare custom software development. Whether you opt for a graphical tool like Azure Storage Explorer or harness Azure Blob Storage’s REST API for programmatic control, Azure offers you the flexibility to efficiently and securely handle healthcare data in the cloud.

Get a Fast Estimate on Your Software Development Project
We are committed to delivering high-quality IT solutions tailored to meet the unique needs of our clients. As part of our commitment to transparency and excellence, we provide detailed project estimations to help our clients understand the scope, timeline, and budget associated with their IT initiatives.
Share


Related Blog Posts