Blog Articles
Cloudinary Integration Guide
Table of Contents
If you are looking for a powerful cloud-based imaging solution, look no further than Cloudinary. This comprehensive platform offers a wide range of functionalities, from image manipulation and optimization to secure storage and delivery. With its seamless integration with NodeJS, a popular JavaScript runtime environment, Cloudinary is the go-to tool for developers looking to enhance their application’s imaging capabilities.
In this article, we will take a closer look at Cloudinary’s introduction, key features, and integration steps in NodeJS. We will also provide a real-world example to demonstrate how Cloudinary can be used effectively in your applications. Whether you are new to Cloudinary or a seasoned user, this article has something for everyone.
Key Takeaways
- Cloudinary is a powerful cloud-based imaging solution for developers.
- It offers a wide range of functionalities, including image manipulation and optimization.
- Cloudinary seamlessly integrates with NodeJS, making it a popular choice for developers.
- Developers can use Cloudinary to enhance their application’s imaging capabilities effectively.
- With its rich feature set, Cloudinary is a must-have tool for developers looking to optimize, manipulate, and deliver images efficiently.
What is Cloudinary?
Cloudinary is an image management platform that offers a wide range of features for developers to streamline their image-related tasks. With Cloudinary, you can upload images to a secure cloud-based server, manipulate and optimize them, and deliver them to your users seamlessly. Whether you’re building an e-commerce website or a mobile app, Cloudinary can help you provide a superior user experience.

Benefits of using Cloudinary
Cloudinary offers several benefits to developers, including:
- Efficient image optimization: Cloudinary’s advanced algorithms can optimize images without compromising on quality, ensuring fast loading times for your application.
- Secure image storage: Cloudinary’s servers are protected by cutting-edge security measures, ensuring that your images are stored safely and securely.
- Flexible image manipulation: With Cloudinary, you can manipulate images to fit your specific needs, using features like cropping, resizing, and watermarking.
- Integration with popular development frameworks: Cloudinary can integrate seamlessly with popular development frameworks like NodeJS, making it easy to incorporate into your workflow.
How Cloudinary can enhance your application development process
By using Cloudinary, you can streamline your image-related tasks and provide a superior user experience for your customers. With its powerful features and flexible integration options, Cloudinary can help developers improve application performance, reduce costs, and deliver high-quality images efficiently.
“Cloudinary is a game-changer for developers looking to optimize their image-related tasks. With its powerful features and flexible integration options, developers can streamline their workflow and improve user experience effortlessly.”
Key Features of Cloudinary
Cloudinary offers a robust set of features to enhance your application’s imaging capabilities. In this section, we will explore some of the key functionalities that make Cloudinary an excellent cloud-based imaging solution.
Image Manipulation
Cloudinary allows for seamless image manipulation with its powerful API. Developers can utilize Cloudinary’s functionalities to resize, crop, rotate, and adjust the color of images. The API supports a wide range of image formats, including JPEG, PNG, and WebP.
Secure Storage and Delivery
Cloudinary ensures secure storage and delivery of images with advanced security protocols. The platform provides a private cloud solution that allows for complete control over access to images. Additionally, Cloudinary’s global Content Delivery Network (CDN) ensures that images are delivered quickly and reliably to end-users worldwide.
Video Manipulation
In addition to image manipulation, Cloudinary also allows for video manipulation. Developers can use Cloudinary to transcode, resize, crop, and optimize videos. The platform supports a wide range of video formats, including MP4, AVI, and MOV.
Metadata Extraction
Cloudinary can extract the metadata of uploaded images, providing insights into the camera model, exposure, and other image details. This feature can be leveraged for analytics applications or image search functionality.
These are just a few of the many features offered by Cloudinary. By leveraging these functionalities, developers can enhance their application’s imaging capabilities and provide a superior user experience.
Integrating Cloudinary with NodeJS: Step-by-Step Guide
Integrating Cloudinary with NodeJS is a seamless process that can enhance your application’s imaging capabilities. Follow the step-by-step guide below to integrate Cloudinary with NodeJS and unlock its full potential.
Step 1: Install the Cloudinary SDK
To get started, install the Cloudinary SDK for NodeJS by running the following command in your terminal:
|
1 |
npm install cloudinary --save |
This command installs the cloudinary package and saves it to your dependencies.
Step 2: Configure Cloudinary API Credentials
Next, configure your API credentials. You can find your API credentials on the Cloudinary dashboard. Use the following code template and replace the placeholders with your API credentials:
|
1 2 3 4 5 |
cloudinary.config({ cloud_name: 'your_cloud_name', api_key: 'your_api_key', api_secret: 'your_api_secret' }); |
This code connects your application to your Cloudinary account.
Step 3: Upload an Image to Cloudinary
Now that you have configured your API credentials, you can upload images to Cloudinary using the following code:
|
1 2 3 |
cloudinary.uploader.upload('your_image.jpg', function(result) { console.log(result) }); |
This code uploads an image to your Cloudinary account and logs the result to the console.
Step 4: Display the Uploaded Image on Your Webpage
Finally, display the uploaded image on your webpage using the following code:
|
1 |
<img src='<%= result.url %>'> |
This code displays the uploaded image on your webpage using the URL returned by the Cloudinary API.
And there you have it! By following these simple integration steps in NodeJS, you can enhance your application’s imaging capabilities with Cloudinary.

Usage Example: Implementing Cloudinary in a NodeJS Application
Let’s walk through a practical usage example of Cloudinary in a NodeJS application. Suppose you have a website that requires users to upload images, and you want to optimize these images for better loading times. In this scenario, Cloudinary’s image optimization features can come in handy.
First, we need to integrate Cloudinary with our NodeJS application by following the above steps. Once we have successfully integrated Cloudinary, we can start using its features.
For the purpose of this example, let’s focus on Cloudinary’s image optimization feature. We can use Cloudinary’s API to optimize the uploaded image by resizing and compressing it, reducing its file size without compromising the quality. The code snippet below demonstrates how to optimize an image using Cloudinary’s API:
|
1 2 |
// Install the Cloudinary package using npm npm install cloudinary --save |
|
1 2 3 4 5 6 7 8 |
// Require the Cloudinary package and configure const cloudinary = require('cloudinary').v2; cloudinary.config( cloud_name: 'your cloud name', api_key: 'your api key', api_secret: 'your api secret' ); |
|
1 2 3 4 5 6 7 8 9 10 11 12 13 |
// Use the uploader method to optimize the image cloudinary.uploader.upload( 'path/to/your/image.jpg', { width: 800, // Desired width of the image height: 600, // Desired height of the image crop: 'fill', quality: 'auto:best' }, function(error, result) { console.log(result); } ); |
With this code snippet, we have optimized our uploaded image using Cloudinary’s image manipulation feature. The resulting image will have a reduced file size, making it load faster on our website.
Additionally, Cloudinary also offers other features such as image delivery and secure storage. By exploring Cloudinary’s documentation, you can discover more ways to enhance your application’s imaging capabilities.
Conclusion
After exploring Cloudinary and its features, it’s evident that it’s a powerful cloud-based imaging solution that can enhance your application’s imaging capabilities. With seamless integration with NodeJS, developers can easily implement Cloudinary into their projects.
Cloudinary’s key features such as image manipulation, optimization, and secure storage and delivery provide developers with numerous powerful tools to work with. Additionally, Cloudinary can be customized to cater to specific industries such as financial software development and healthcare.
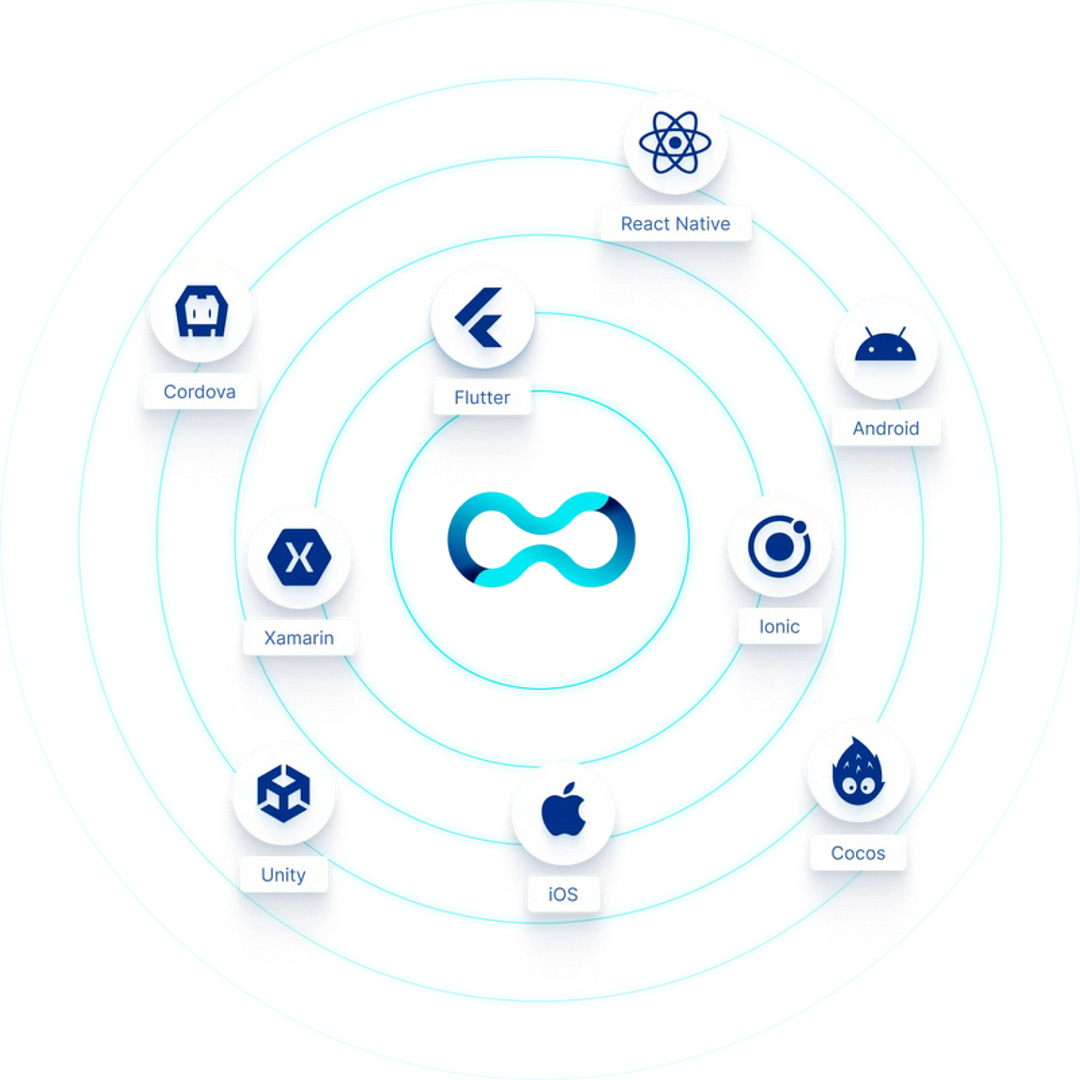
Moreover, Cloudinary supports cross-platform app development while ensuring optimal performance and user experience across devices. Making quality assurance (QA) testing much more comfortable and streamlined.
In conclusion, Cloudinary is a comprehensive cloud-based imaging solution that offers robust and powerful functionalities. By implementing Cloudinary, you can optimize, manipulate, and deliver images efficiently, making it an invaluable tool for application development. So, start leveraging Cloudinary to elevate your application development process today.

Get a Fast Estimate on Your Software Development Project
We are committed to delivering high-quality IT solutions tailored to meet the unique needs of our clients. As part of our commitment to transparency and excellence, we provide detailed project estimations to help our clients understand the scope, timeline, and budget associated with their IT initiatives.
Related Post


