- 1 The feature adds value, especially to touch interface, by involving easy dragging and dropping with the use of touch mechanism greatly characterized for user friendly interfaces.
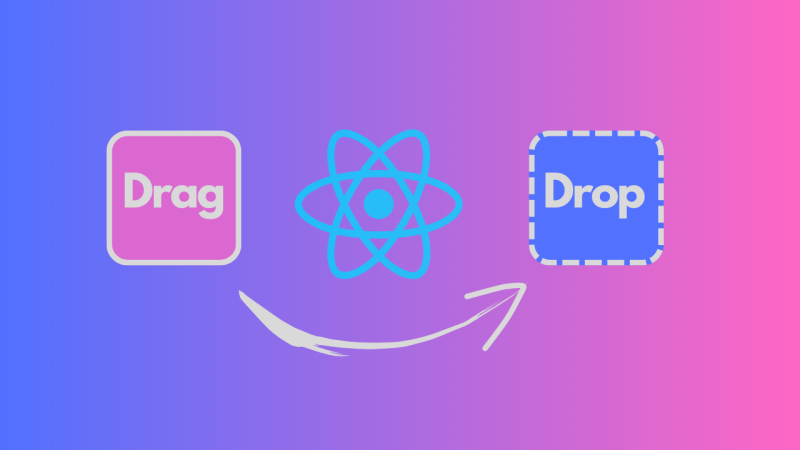
- 2 The tutorial is dedicated to the implementation of drag and drop in React Native with the help of PanResponder API emphasizing on a real-world example and clear instructions.
- 3 The PanResponder API found in the React Native deals with touch gestures – fundamental to drag-and-drop – by providing methods such as dragging and swiping to identify the gesture and respond.
Introduction to drag and drop
The drag and drop feature stands out as a widely embraced user interaction pattern, significantly enriching the user experience by granting them the ability to effortlessly maneuver elements through touch gestures. This tutorial embarks on a journey to unravel the implementation of drag and drop functionality within a React Native application, leveraging the versatile PanResponder API. As we delve into this tutorial, we’ll not only guide you through the process but also furnish you with a hands-on illustration, accompanied by an in-depth breakdown of each pivotal step.
With drag and drop, users can intuitively rearrange elements, simplifying complex tasks and fostering a more engaging and user-friendly interface. By focusing on React Native and the PanResponder API, we offer a practical, real-world example that demonstrates how to harness this feature effectively. This tutorial serves as a valuable resource for those eager to enhance their React Native applications with the power of touch-based element manipulation.
Understanding PanResponder in React Native
The PanResponder API is an essential tool for handling touch gestures in React Native drag and drop. It provides methods and callbacks to recognize and respond to touch interactions like dragging, swiping, and more.
To use PanResponder, you first need to create a PanResponder object. You can do this by calling the PanResponder.create() function. The PanResponder.create() function takes a few arguments, including:
- onStartShouldSetPanResponder: The user initiates this function when starting to drag an element. This function should return a boolean value that indicates whether or not to activate the PanResponder.
- onPanResponderGrant: The PanResponder activates this function. It can be To perform tasks, including setting the initial position of the element being dragged.
- onPanResponderMove: This function is used whenever they move the element is draggedon the screen. You can use this function to update the position of the element.
- onPanResponderRelease: The user can use this function to execute actions, including handling the element when it is dropped, among other actions and when releases the element being dragged.
Implementing Drag and Drop in React Native: A Practical Example
Let’s implement drag and drop functionality using a practical example. We’ll create a draggable component that responds to touch gestures by allowing the user to drag it around the screen.
Step 1: Import Dependencies
Start by importing the necessary dependencies:
import React, { useState } from ‘react’;
import { View, Animated, PanResponder } from ‘react-native’;
Step 2: Create the Draggable Component
Define the draggable component using the functional component syntax:
Step 3: Use the Draggable Component
In your main component, use the Draggable list Component within your layout for rative native drag and drop:
Step 4: Style your Components
Add styles to your components to control their appearance:
In this example, the DraggableComponent component uses the PanResponder component to implement drag and drop. The View component attaches the PanResponder component. It uses the onPanResponderMove function to update the position of the draggable content as the user drags it. The onPanResponderRelease function logs a message to the console when the user releases the Image component.
Innostax Mobile App Development Services
Enhance your React Native applications with Innostax’s comprehensive mobile app development services. Our expertise ensures that features like drag and drop are seamlessly integrated, providing a fluid and intuitive user experience across both iOS and Android platforms.
Our Services Include:
- Custom React Native Development: We build tailored solutions that incorporate advanced functionalities such as drag and drop, ensuring your app meets specific business requirements and user expectations.
- UI/UX Design: Our design team creates visually appealing and user-friendly interfaces that complement interactive features, enhancing overall engagement and usability.
- Performance Optimization: We ensure that interactive elements like drag and drop operate smoothly, delivering a responsive experience even with multiple simultaneous interactions.
- Comprehensive Testing: Rigorous quality assurance processes verify that all features function flawlessly across various devices and operating systems, maintaining high performance and reliability.
- App Maintenance and Support: Post-launch, we provide ongoing support and updates to keep your app up-to-date with the latest technologies and user preferences.
Conclusion
Congratulations on your achievement! You’ve adeptly integrated React Native’s drag and drop functionality into your application, skillfully harnessing the power of the PanResponder API in synergy with the React Native Gesture Handler with drag and drop mobile react. Through a deep comprehension of PanResponder callbacks and their thoughtful implementation in the DraggableComponent, you’ve empowered users with seamless touch interactions, enabling them to effortlessly drag elements across the screen.
This accomplishment serves as a solid foundation for expanding your app’s capabilities with drag and drop mobile react. You can now explore advanced features like setting data, employing keyExtractor for better item identification, and implementing sophisticated item manipulation. These enhancements promise to elevate your app’s usability and user experience to new heights, making it even more engaging and user-friendly. As you embark on this journey, we wish you happy coding and look forward to witnessing your application’s continued growth and success!