- 1 Streamlined Setup and Configuration: Starter classes: Rest API, HSQLDB Embedded- option of Spring Boot is good enough for developing web applications with ultimate inbuilt facilities to work on different databases. With Spring Initializr, developers can establish a project easily without setting up much of the basic structures which take much of the time to create; developers can concentrate on the application's logic as it has lesser complex settings.
- 2 Efficient Database Operations with Spring Data JPA: Working with Spring Boot, there is a lot of help from Spring Data JPA with regards to handling of database operations. For the entities and repositories, developers can define them directly; lots of the built-in methods can be used for CRUD operations, thereby little it is possible to avoid the writing of many lines of codes.
- 3 Robust Development Workflow: In terms of the guide's structure, the guide focuses on a process that starts with project creation and the setup of your database up to the creation of your entities and the implementation of services. This structured process can guarantee a seeming development process that can effectively facilitate the development of database driven applications by the developers.
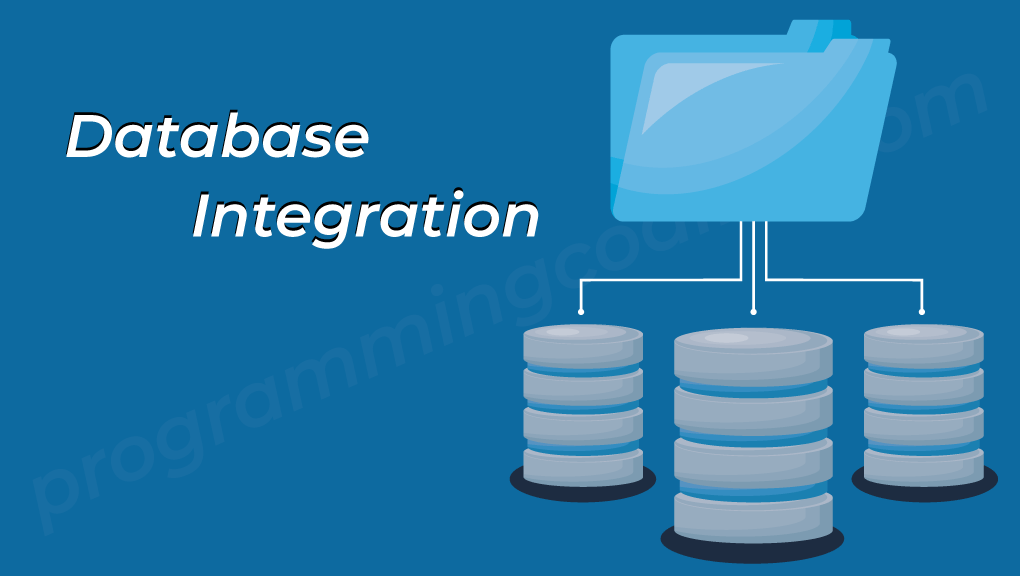
In modern web applications, database integration is essential. These applications rely on databases to store, retrieve, and manage data efficiently, which is key to enabling dynamic content, user interactions, and seamless experiences.
Knowing how to connect a database in Spring Boot helps create a structured system for organizing information, establishing relationships, and ensuring security and scalability.
Whether handling user profiles, transaction records, or content repositories, databases maintain data integrity and coherence. This foundation lets web applications deliver responsive, personalized experiences to users in a data-driven world.

How to Connect Database in Spring Boot
Step 1: Setting Up a Spring Boot Project:
a. Use Spring Initializr to create a new Spring Boot project.
- Visit the Spring Initializr website or use the Spring Initializr plugin in your integrated development environment (IDE).
- Choose a Group and Artifact name for your project.
- Select the desired project metadata, such as packaging (JAR or WAR), Java version, and language (Java or Kotlin).
b. Select dependencies like “Spring Web” and the database of your choice.
- Under the “Dependencies” section, search and add “Spring Web” to enable the development of web applications.
- Add the database dependency based on your preference:
- For H2, add “H2 Database.”
- For MySQL, add “Spring Data JPA” and “MySQL Driver.”
c. Generate Project:
- Click the “Generate” or “Generate Project” button to download a ZIP file containing your Spring Boot project with the specified dependencies and configurations.
d. Unzip and Open in IDE:
- Extract the contents of the downloaded ZIP file to your desired project location.
- Open the project in your preferred integrated development environment (IDE) such as IntelliJ IDEA or Eclipse.
e. Explore Project Structure:
- Take a moment to explore the project structure generated by Spring Initializr. Key files include src/main/java for Java source code, src/main/resources for application configuration, and pom.xml (if using Maven) or build.gradle (if using Gradle) for project dependencies.
f. Configure Database Connection:
- Navigate to the application.properties or application.yml file in the src/main/resources directory to configure the database connection properties.
- Set the URL, username, and password according to your chosen database.
g. Run the Application:
- Build and run the application from your IDE. If you are using Maven, you can run mvn spring-boot:run from the command line.
- Verify that the application starts without errors.
Step 2: Configuring Database Properties:
- Navigate to the
application.propertiesorapplication.ymlfile. - Configure database connection properties such as URL, username, and password.
1 2 3 4 5 6 | # Example for H2 Database spring.datasource.url=jdbc:h2:mem:testdb spring.datasource.driverClassName=org.h2.Driver spring.datasource.username=sa spring.datasource.password=password spring.h2.console.enabled=true |
Step 3: Creating an Entity Class:
- Create a simple JPA entity class representing a table in your database.
1 2 3 4 5 6 7 8 9 10 11 12 13 14 15 16 17 18 | import javax.persistence.Entity; import javax.persistence.GeneratedValue; import javax.persistence.GenerationType; import javax.persistence.Id; @Entity public class Product { @Id @GeneratedValue(strategy = GenerationType.IDENTITY) private Long id; private String name; private double price; // getters and setters } |
Step 4: Implementing a Repository
- Create a repository interface that extends
JpaRepositoryto perform CRUD operations.
1 2 3 4 5 6 | import org.springframework.data.jpa.repository.JpaRepository; public interface ProductRepository extends JpaRepository<Product, Long> { // Additional custom queries can be added here } |
Step 5: Implementing Service and Controller
- Create a service class to encapsulate business logic and a controller to handle HTTP requests.
1 2 3 4 5 6 7 8 9 10 11 | import org.springframework.beans.factory.annotation.Autowired; import org.springframework.stereotype.Service; @Service public class ProductService { @Autowired private ProductRepository productRepository; // Implement service methods } |
1 2 3 4 5 6 7 8 9 10 11 12 13 14 | import org.springframework.beans.factory.annotation.Autowired; import org.springframework.web.bind.annotation.*; import java.util.List; @RestController @RequestMapping("/products") public class ProductController { @Autowired private ProductService productService; // Implement controller methods } |
Step 6: Testing the Application
- Write unit tests for the repository, service, and controller.
- Use tools like JUnit and Spring Boot’s testing annotations.
Benefits of Spring Boot in Database Integration
Spring Boot offers numerous benefits for simplifying database operations, making it a popular choice for building robust and scalable web applications. Here’s an introduction to the advantages of using Spring Boot in the context of database integration:
1. Rapid Development:
Spring Boot follows a convention over configuration approach, minimizing the need for boilerplate code and configuration. This results in faster development cycles, allowing developers to focus on business logic rather than complex setup.
2. Built-in Database Support:
Spring Boot provides seamless integration with various databases, including relational databases (e.g., MySQL, PostgreSQL, H2) and NoSQL databases (e.g., MongoDB). The framework simplifies the configuration and setup of database connections, reducing the complexity of integrating different data storage solutions.
3. Spring Data JPA:
Spring Boot allows the Spring Data JPA project, offering a high level abstraction over traditional Java Persistence API (JPA). With Spring Data JPA, developers can interact with databases using standard Java objects and annotations, reducing the amount of boilerplate code typically associated with database operations.
4. Automatic Configuration:
Spring Boot features automatic configuration, where default settings are applied based on the project’s dependencies and the environment. This eliminates the need for extensive manual configuration, making it easier for developers to get started with database operations.
Spring Boot Development Services
Innostax provides complete Spring Boot development services. We integrate Spring Boot into every stage of the development process, ensuring secure, high-performing applications. Our team handles routing, authentication, caching, and database connections, allowing for smooth, reliable application performance.
Using Spring Boot’s ORM capabilities, including Hibernate, we make database interactions efficient and straightforward. This approach supports concise, effective queries and fast data handling, creating seamless database operations.
With Innostax, you work with experienced developers who understand Spring Boot’s features, including auto-configuration and Spring Data JPA. We’re here to provide practical, scalable Spring Boot solutions that meet your project’s exact needs.
Conclusion:
Integrating a database into a Spring Boot application is straightforward, thanks to the framework’s ease and efficiency. With Spring Boot’s design and useful abstractions, developers can transform project ideas into database-driven applications quickly. From project setup with Spring Initializr to configuring database connections and creating JPA entities, each step highlights Spring Boot’s intuitive approach.
This process allows developers to focus on core business logic, while Spring Boot manages complex database operations behind the scenes. With automatic configuration, built-in database support, and seamless integration with Spring Data JPA, Spring Boot, combined with Innostax expertise, redefines the approach to database integration, offering a balanced mix of efficiency and innovation.ve solutions.
For additional insightful articles and information, please reach out to us.